 |
| Sketch your art out on watercolor paper |
 |
| Trace your art with glue. |
 |
| Little kids may need help if their hands get tired. |
 |
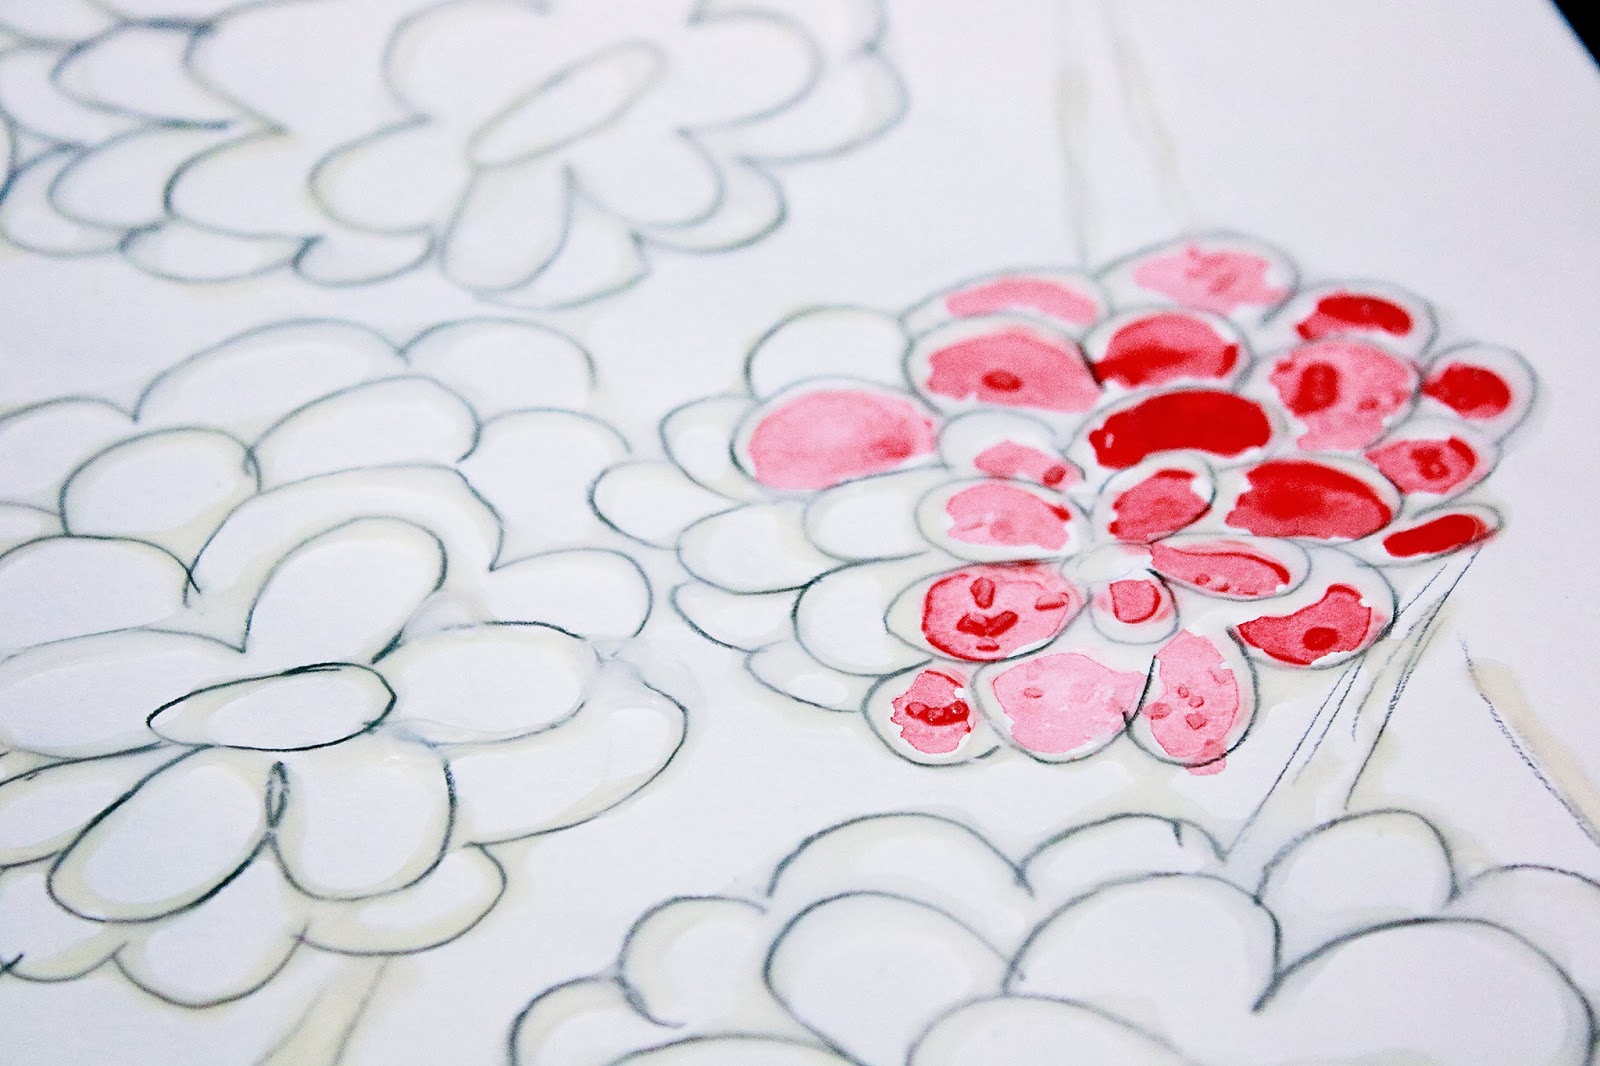
| Bake (This isn't quite ready, see the spots that are still a bit milky? We don't want that) |
 |
| Start painting! |
 |
| Add salt where you like but remember that paint should be wet and slightly watery to give the best effect. |
 |
| Adding salt to her background |
 |
| Up close |
 |
| Finished (We removed most of the salt but left a bit) |
With an extended weekend like this one I like to plan at least one craft for the girls. It's a great time to bond and chat with them. These beautiful works of art are not only fun but a cheap activity.
Supplies:
- Watercolor Paper
- Watercolor Paints (Any will do, tube or tray)
- Paint brush
- Pencil
- Glue (Like Elmers)
- Cup of Water
- Salt (We used coarse kosher, I love the look of the larger grain but any will work)
It's pretty easy and the photos basically sum it up.
1. On a sheet of watercolor paper sketch out a beautiful picture (try to work with large images, small details will be hard to trace and paint). Think large flowers or patterns!
2. After you are satisfied with your art, begin tracing it with glue.
3. Once finished you can either wait FOREVER for it to dry, or you can bake it in the oven at 175-200 degrees for 10-15min. If it is milky it's not done. Don't over cook it either.
4. Time to paint! We found it was best not to use paint too thick or too watery but more somewhere in the middle. Too watery can start to affect the glue and too thick didn't allow the salt to do it's magic. Try to only paint inside and around the glue. Try to preserve that invisible outline.
5. At any stage of your painting add salt. Paint MUST be wet for the salt to give your art a beautiful speckled look. If it's too dry, well it will just fall off and not adsorb any of the paint. We put a small bit of salt in a condiment bowl to make it easier for little fingers to grab. I prefer coarse salt cause it has a bolder affect. But regular table salt will give a nice subtle look. Which ever you choose don't go too crazy with salt in one spot. Just a tiny pinch is needed, here and there.
6. Allow to dry. After your art is completely dry you can wipe off the access salt of desired. If your paper is warped lay a nice heavy book on it over night (on COMPLETELY dry art) to flatten it.
Photography by me, feel free to share this but please give credit where due and link back to me @ The Arbitrary Fox.
Take Care & Enjoy,
Heather


This is too cute!! Totally pinning this for later for my kids. What an awesome idea with the glue and salt. Makes it more interesting and fun!
ReplyDeleteThanks Julie! My girls really loved this one and the finished art was so incredible it was frame worthy! It's definitely one we've done several times.
Delete